Decontamination – What, Why, When & How
Skip these steps and everything you do after it is working against you.

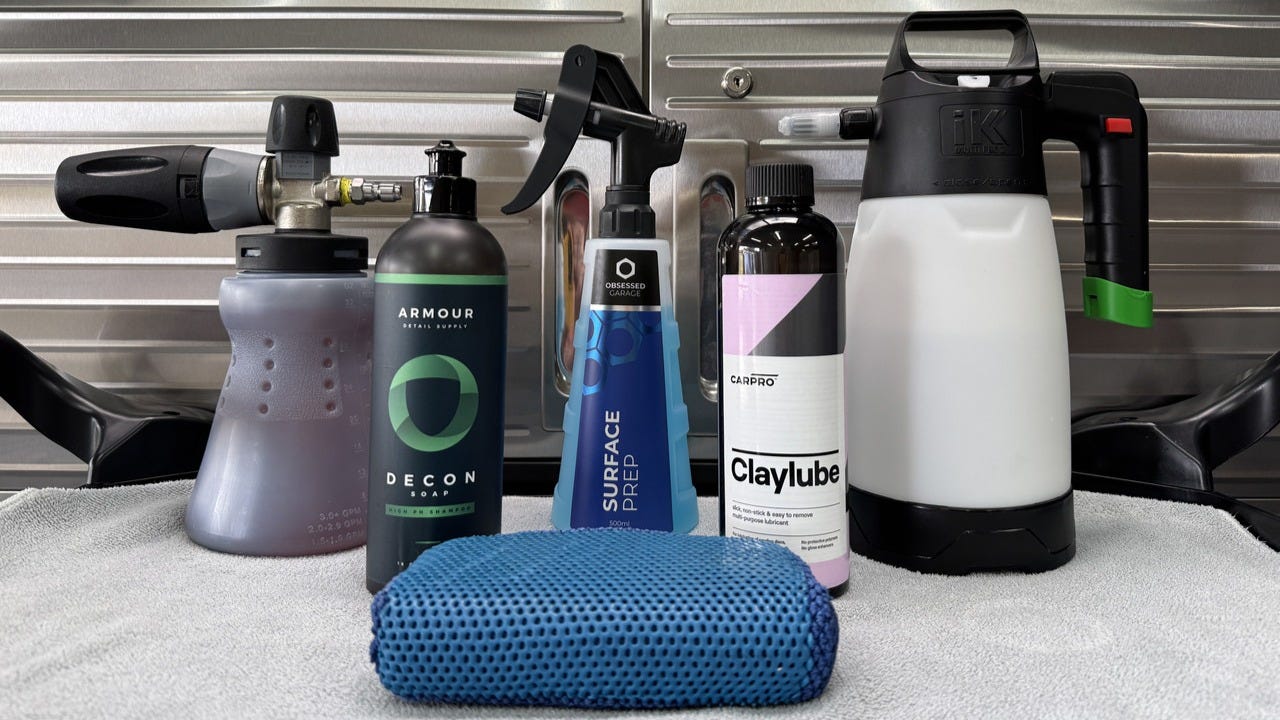
In a general sense, decontamination has become one of those buzz words that gets thrown around this hobby a little too freely. Strip it back though, and it’s simple: it’s the removal of foreign material sitting on your paint, glass and wheels that a normal maintenance wash never touches. That build-up is what makes paint feel rough and lacking clarity, even when the car looks clean.
Iron fallout, industrial pollution, acid rain, mineral deposits, bird droppings, tree sap, bug remains, tar, paint overspray, oily road grime, rubber residue……………the list goes on, and how much of it lands on your car depends entirely on where it’s used and stored. A well-maintained garage queen might genuinely never need decontaminating. I live in a country area, so I get off relatively lightly. But if you live and work in heavily trafficked cities, park at a train station, or live and work near an industrial estate or airport, you’ll be doing this a lot more often than you think.
Some of this you’ll see with the naked eye — bugs and tar are obvious enough. Most of it you’ll only feel. Contaminated paint or glass feels rough and sounds “crunchy” under your hand. After enough years doing this, you learn to feel it bare-handed, but if you’re not confident yet, the baggy test is where I’d start. Slip your hand into a sandwich bag or rubber glove, then run it over a clean test section. The bag or glove amplifies everything, so you’ll hear the scruffy, gritty sound if there’s anything there. Smooth and quiet means you’re done. Gritty and noisy means decontamination is next.
Why Removal Matters –
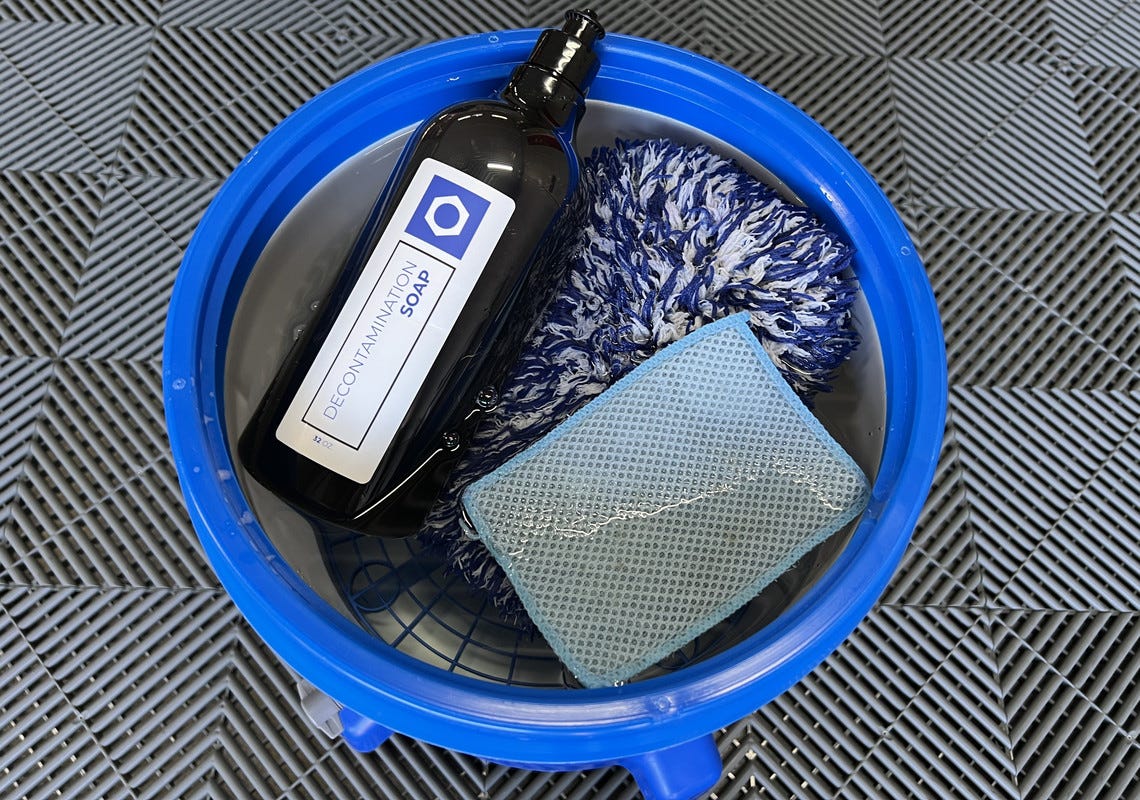
In most cases, removing contamination is a cosmetic call. And fair enough — bugs, tar and water spots are unsightly, no argument there. But there’s more to it than looking good, and this is where I think a lot of people stop short.
Left in place long enough, some of these contaminants actually damage the paint. Bug etchings can bite permanently into the clearcoat, sometimes past the point of correction. Mineral deposits do the same thing over time, baking into hard water spots that won’t budge without a fight. Prevention beats cure here — protect the paint and remove contamination early, and you’ll never have to find out how deep that etching goes.
It matters just as much once you start working on the paint. Correction relies on your pad and compound doing their jobs on clean paint, not grinding through leftover iron deposits. Skip this step and you’re not correcting, you’re adding more damage on top of what’s already there. Coatings and waxes are just as fussy — they need a genuinely clean surface to bond to, not a layer of tar, water spots and iron fallout hiding underneath, visible or not.
Cosmetic, protective, or both — the reason doesn’t matter. Get the contamination off first. Everything else you do to that paint depends on it.
When To Decontaminate –
How long is a piece of string? Seriously though, timing here comes down to the car in front of you, not a fixed schedule.
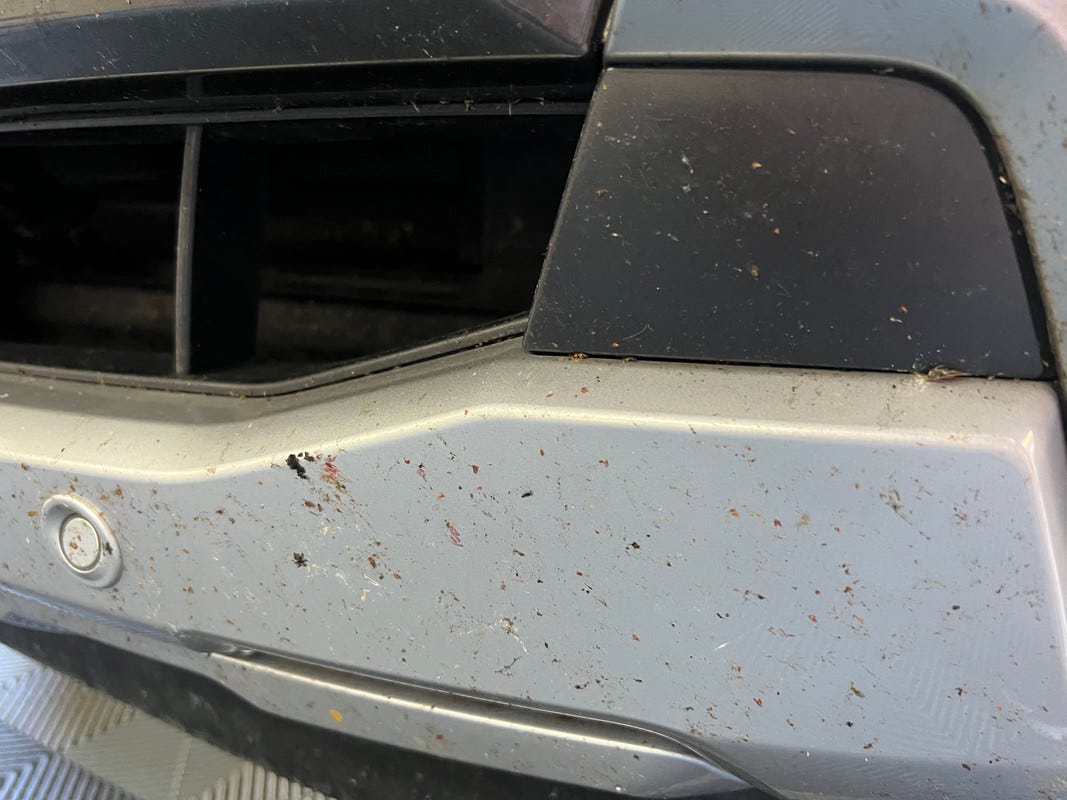
Just been on a road trip and the front end’s peppered in dead bugs? That’s not a “get to it eventually” job. I want that off within a day or two — bug remains only get more stubborn to shift the longer they bake on, and letting them sit is asking for permanent etching.
Mineral deposits and iron fallout are a different story. You won’t always see them, so they don’t carry the same urgency — removal here is usually timed around your next correction or protection step rather than a ticking clock. If you’ve clayed the car, chances are you’ll need to follow up with a polish anyway, so that timing tends to sort itself out. Claying itself shouldn’t be a regular habit though. I often see people mention claying every few months…………..don’t. It’s not needed, and it’s unnecessary contact with paint that doesn’t need touching that often.
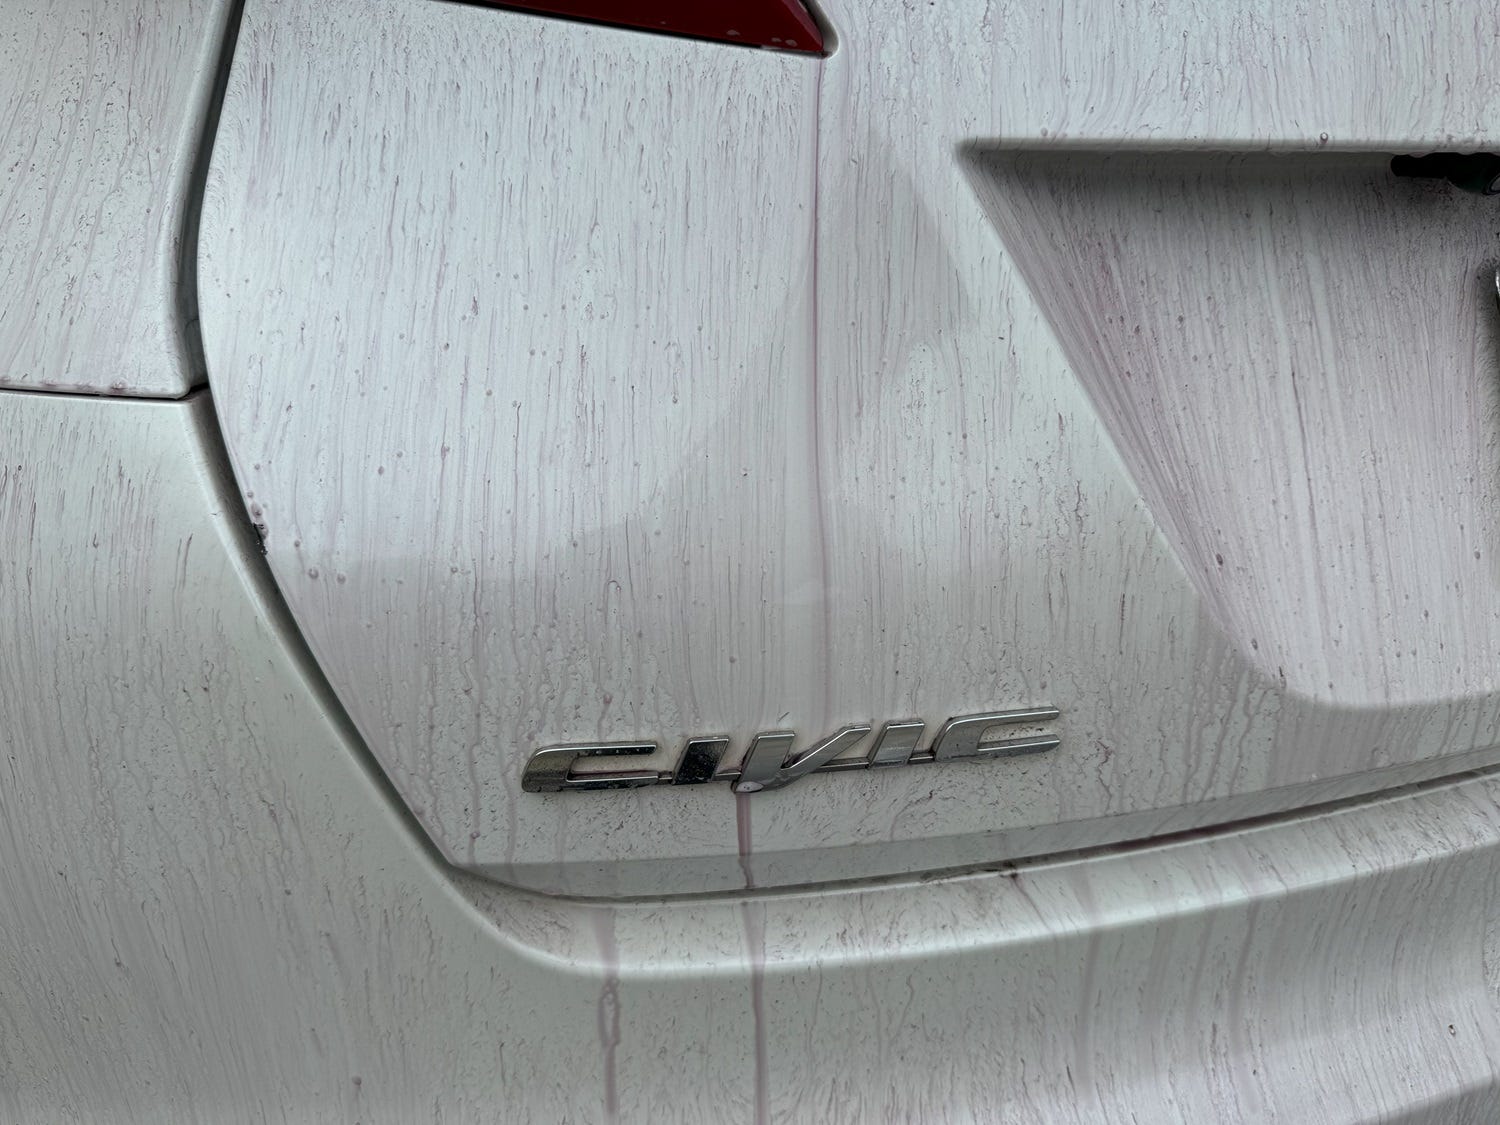
Even polished and protected paint needs the odd check-in. The paint itself won't necessarily look any different — the giveaway is how water behaves on it. When beading turns to sheeting, or water stops rolling off the way it used to, that's often a sign of contamination clogging the coating and masking its hydrophobic properties. A light chemical decontamination is usually enough to bring it back.
In summary, “when” to decontaminate depends on your maintenance schedule, what the car has been subjected to, and what the paint looks and feels like.
How To Decontaminate –
Just as there are many types of contamination, there are just as many ways to remove it. In broad terms, we split decontamination into two groups: chemical and mechanical, and each one covers a handful of different products and tools depending on what you're dealing with.
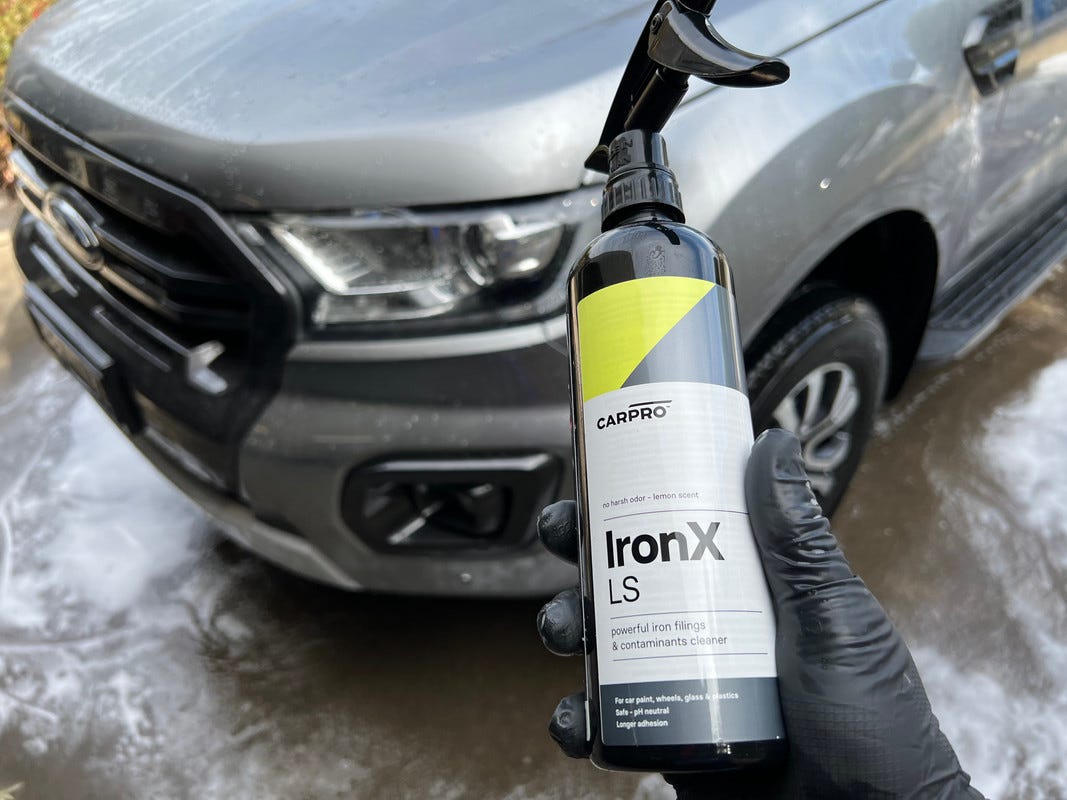
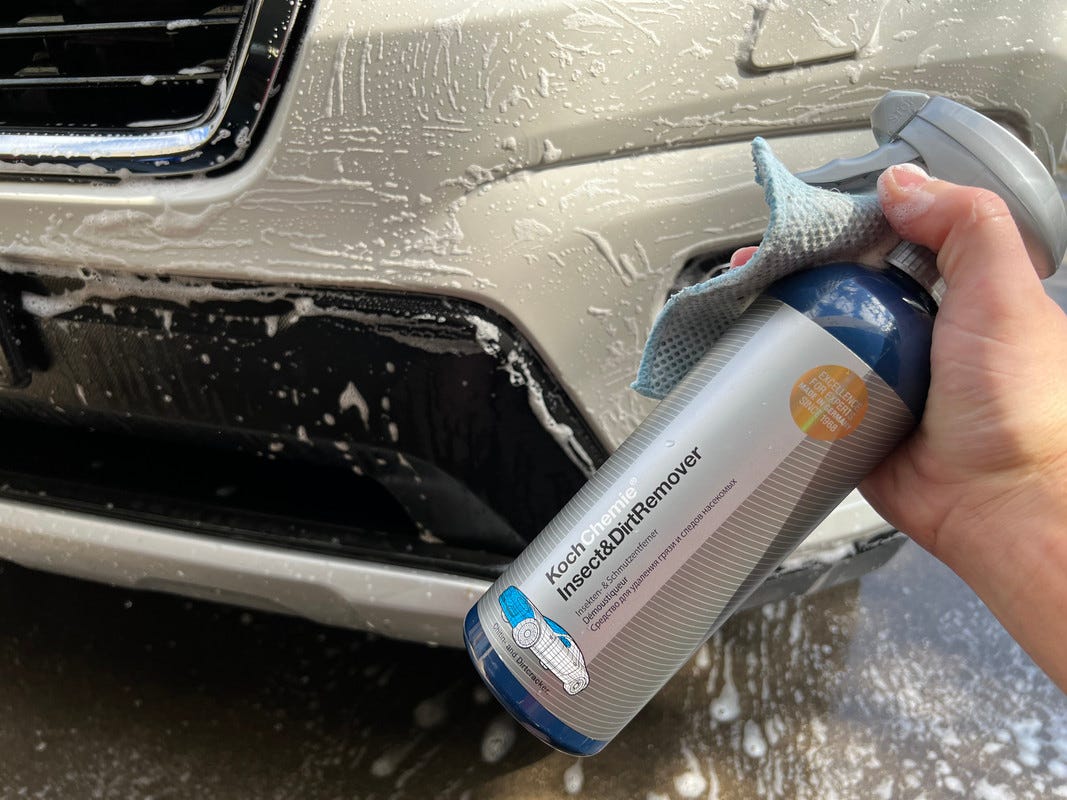
Chemical Decontamination – dedicated chemistry that softens contaminants so they lift away without effort, often in a touch-free manner. Iron removers, water spot treatments, tar removers, bug removers, degreasers…………each one exists because a different type of grime needs a different approach, and matching the product to the job is half the skill.
Mechanical Decontamination – actual contact with the surface of the paint or glass. The most obvious would be the use of clay media, but may also include the use of brushes, towels or bug scrubbers. In effect, you are abrading the contamination from the surface, so I tend to use it as little as I can get away with. Go in heavy-handed and you’ll need to follow up with a polish just to undo the marring you created removing the contamination in the first place.
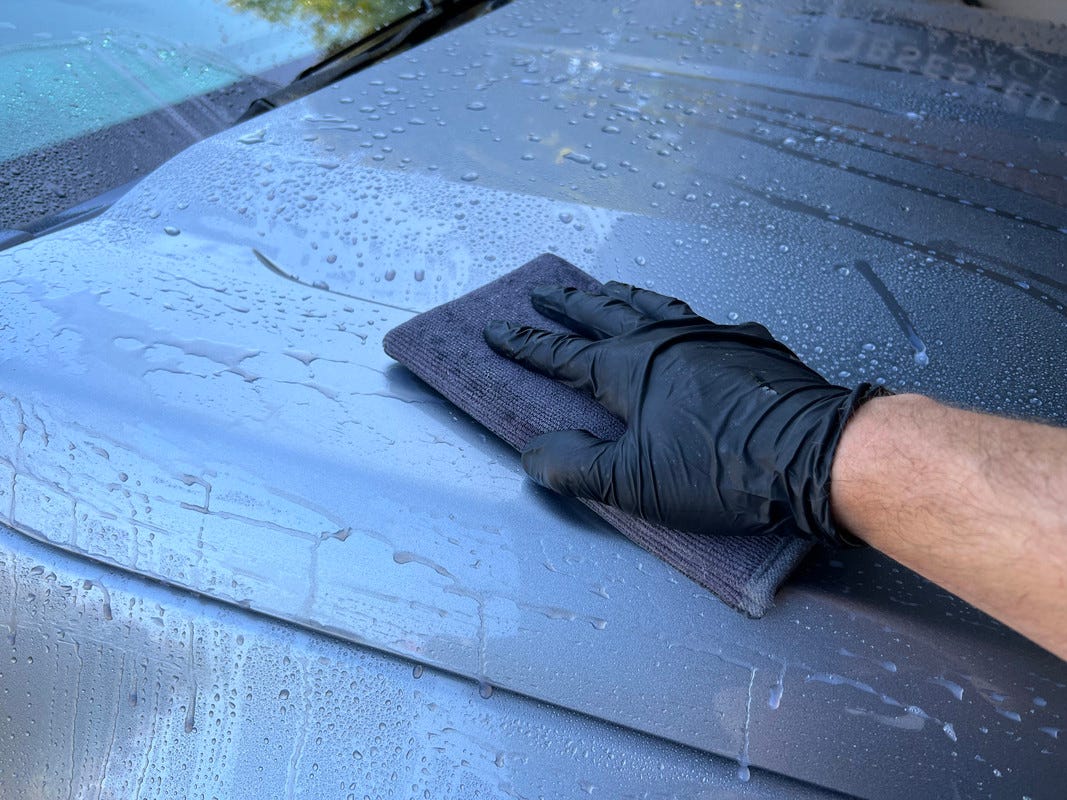
So why use a chemical in the first place if it then requires mechanical action anyway? Comes down to the age of the contaminant and how a particular product actually performs. Water spot removers often need a towel pass to be fully effective. Old tar deposits and baked-on bugs are the same. The chemical loosens the contaminant’s grip on the paint — the mechanical action finishes what it started.
My Decontamination Process -
This is the decontamination regime I’ve used for years now — the full end-to-end process, thorough by design. Not every car needs all of it in one go though. Think of what follows as a workflow guide built around a pre-correction, pre-protection process. The beauty of it: pick up what you need, skip what you don’t, wherever your car happens to sit. This also covers the unclogging of a ceramic coating.
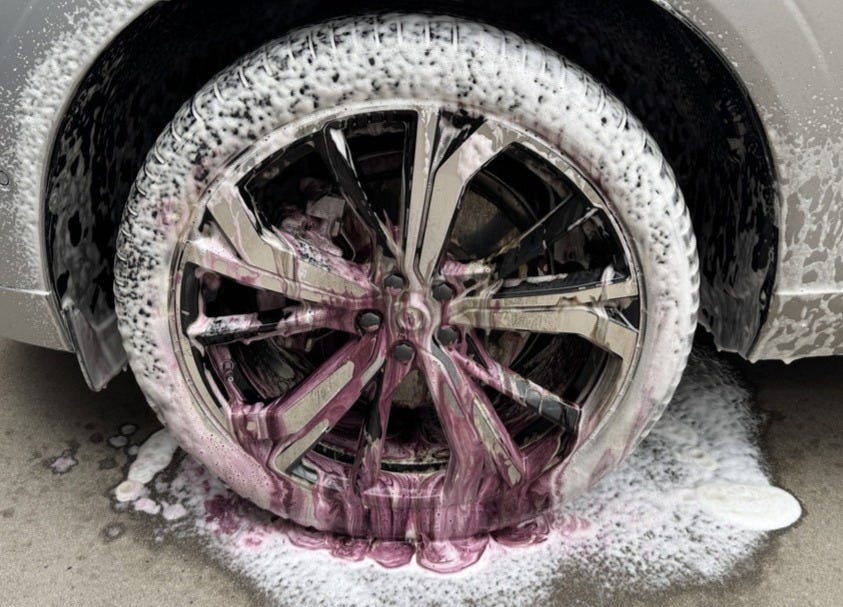
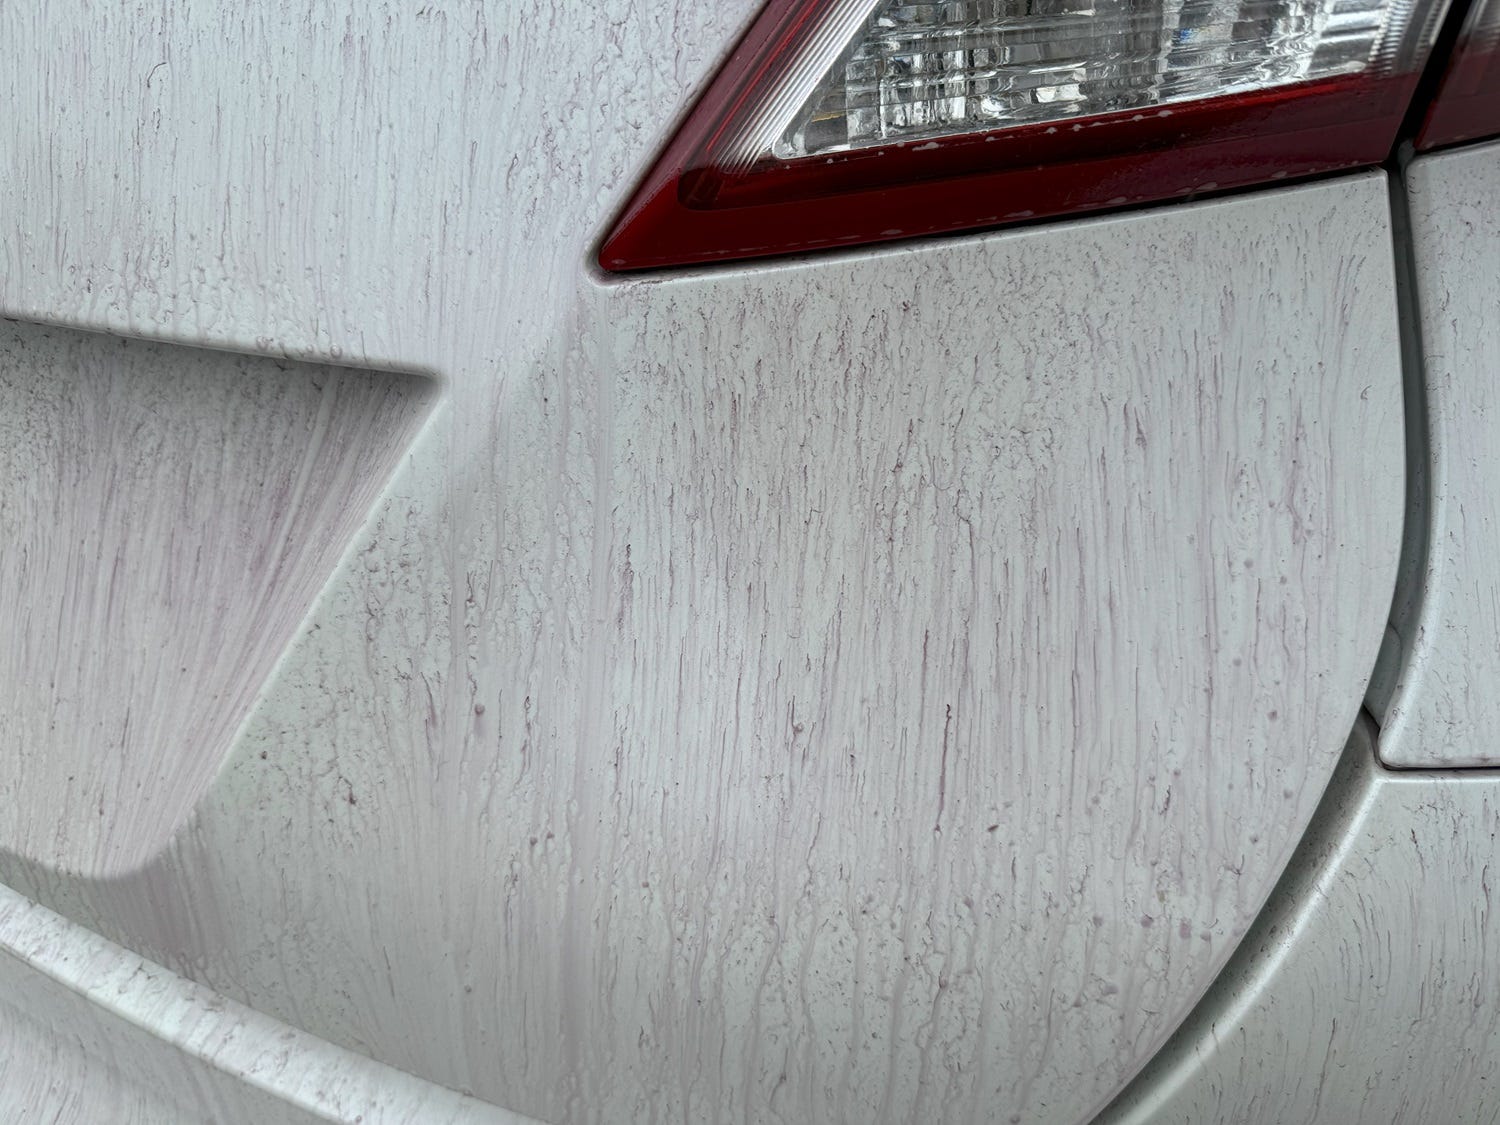
1. With the car still dry, apply an iron remover to the entire vehicle, making sure you get even coverage. Let it dwell as long as possible without drying — I wouldn’t do this in full sun, so if that’s your only option, work in smaller sections.
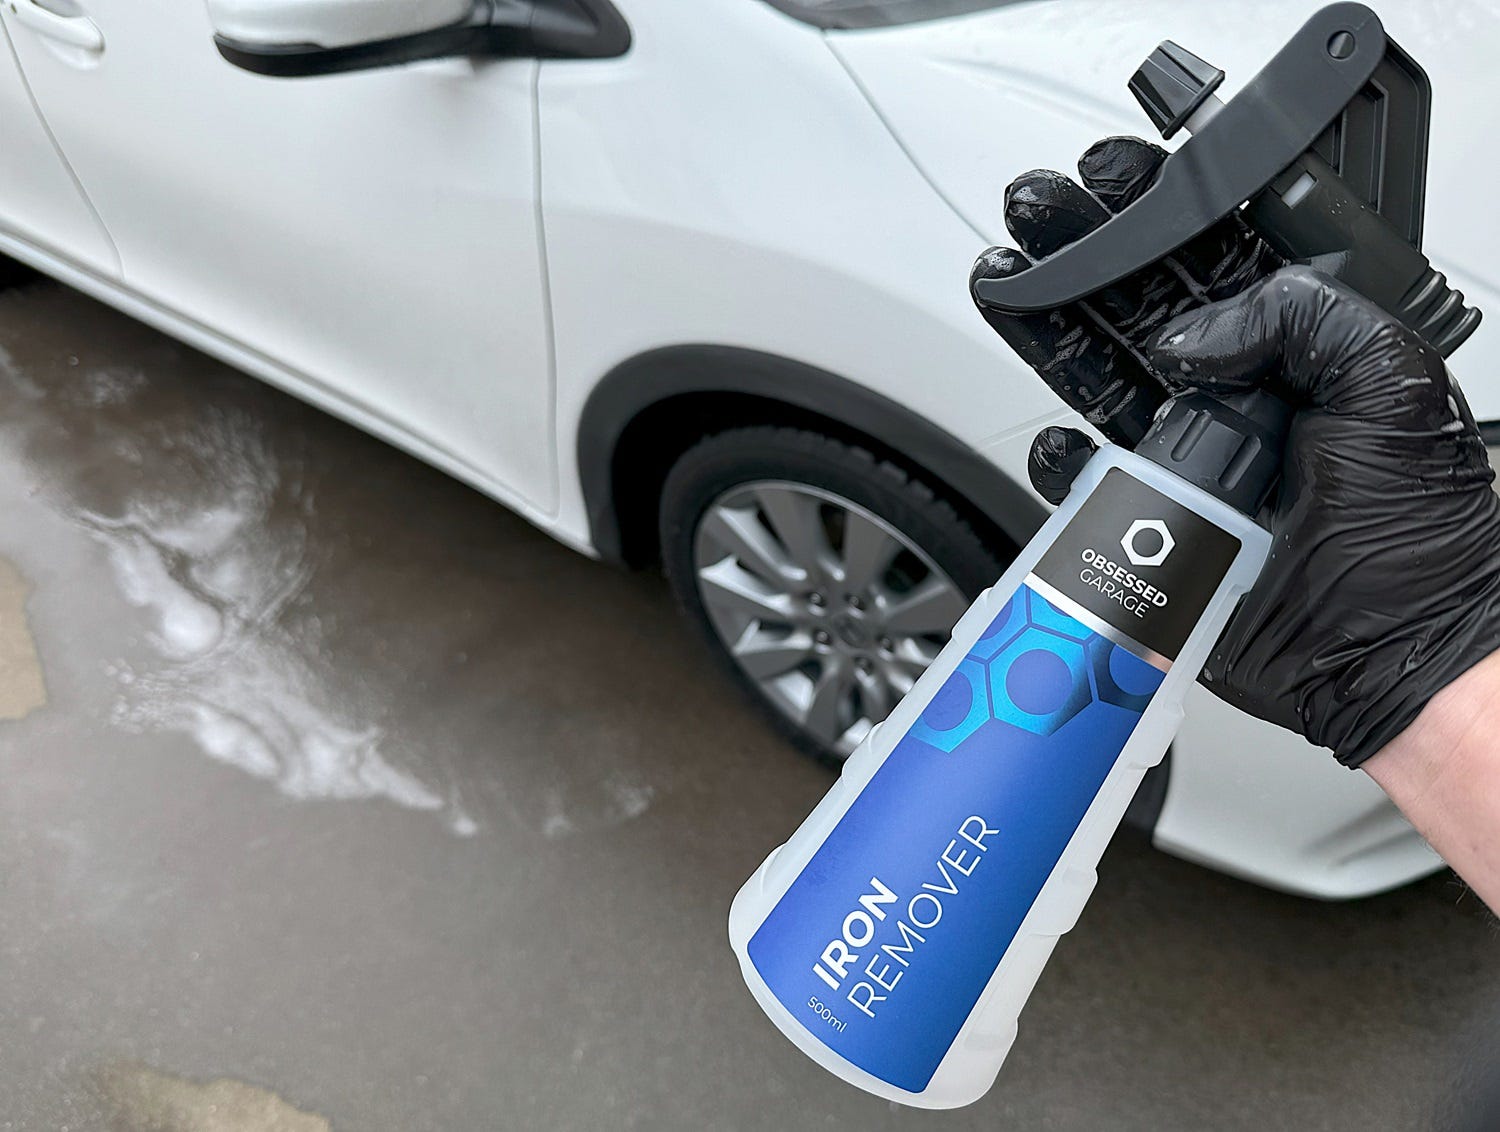
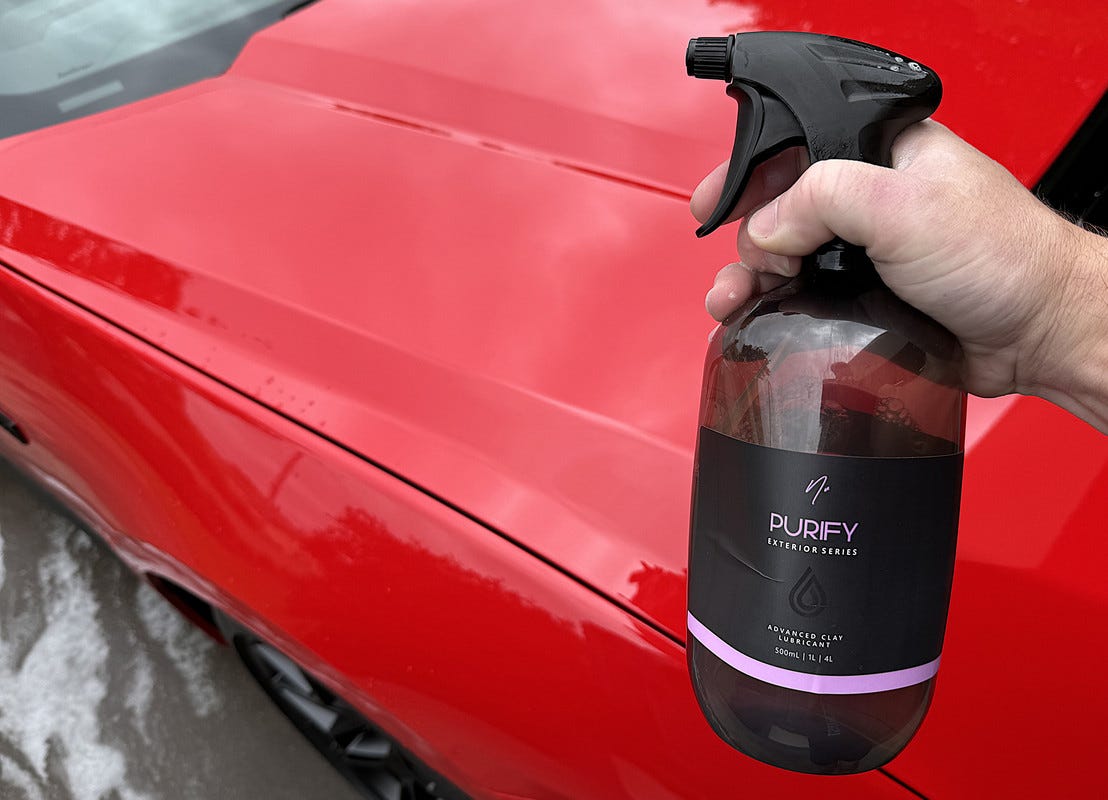
Now, some will tell you to wash first and hit the iron remover after, the theory being it won’t have to fight through dirt and grime to work properly. My rebuttal’s simple: my chosen iron remover, NV Purify, already carries a traffic film remover, which cuts through the grime and lets the iron remover component get on with its job regardless. Also, if applied to a wet vehicle, you dilute the chemical before it’s had a chance to work.
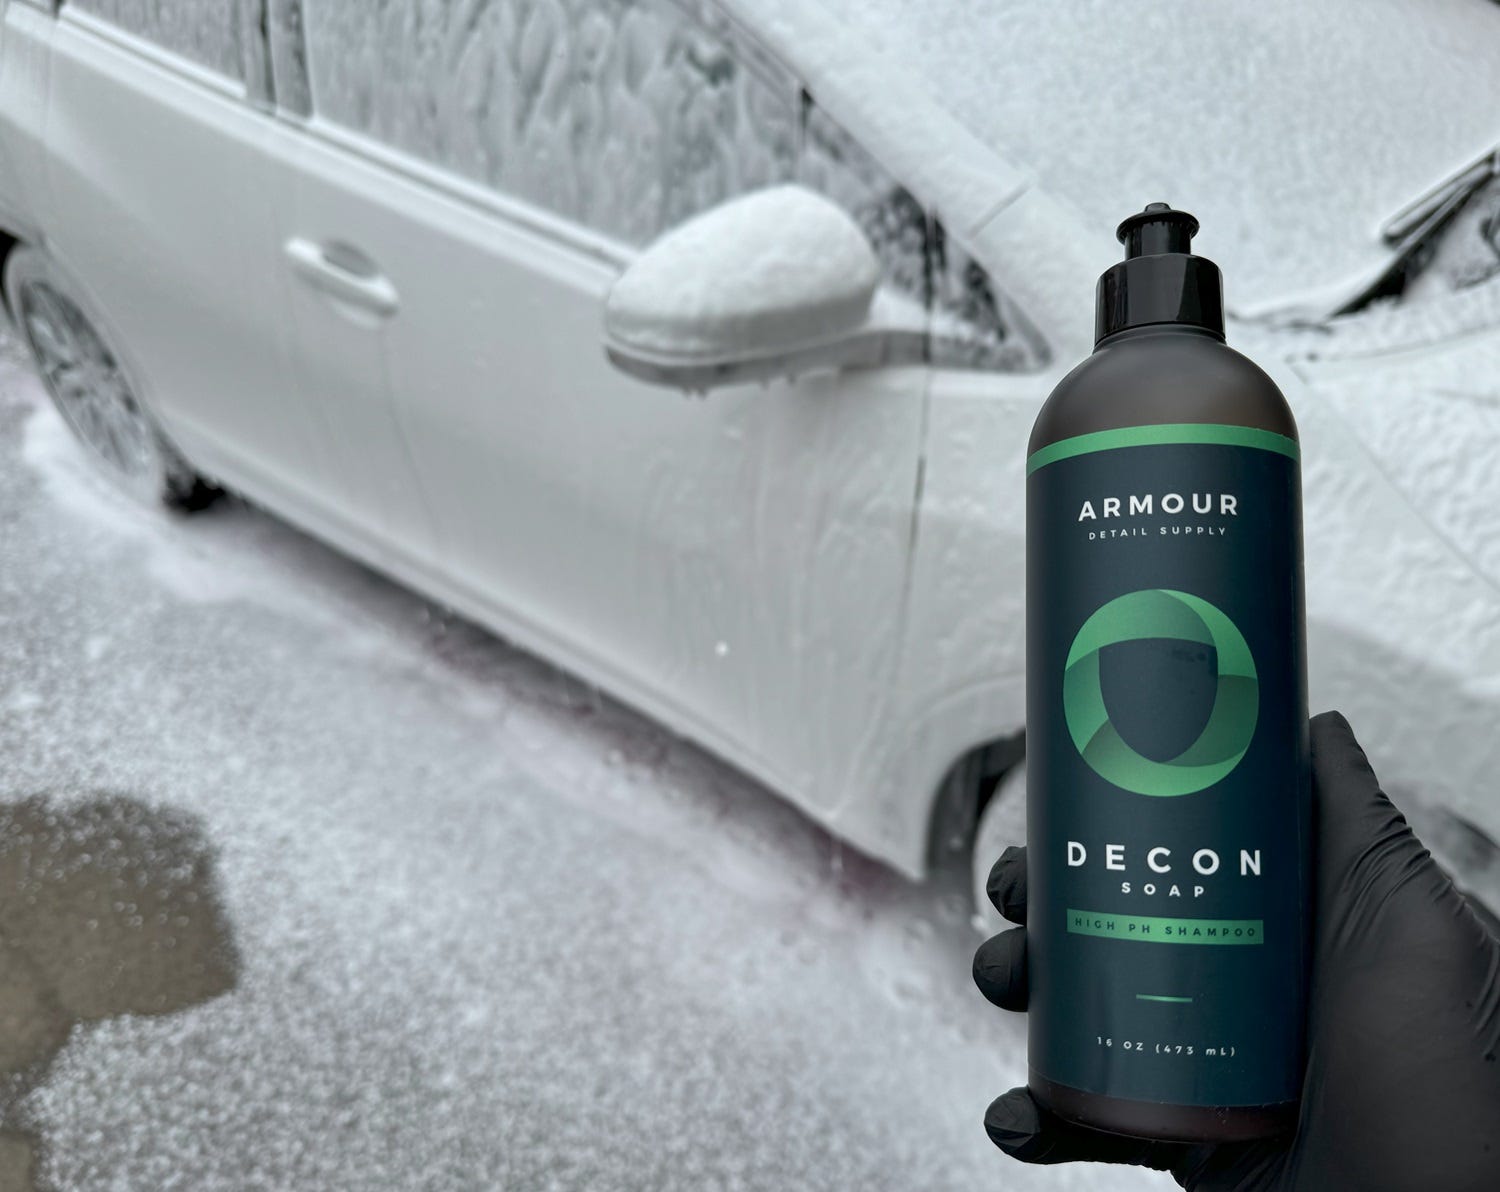
2. With the iron remover still on the surface, foam on a high pH soap over the top and let it dwell without drying. This step’s doing three things at once. It stretches the iron remover’s working time, even as it dilutes it slightly. The alkaline soap goes after the oily, greasy contaminants the iron remover doesn’t touch. And as the soap sheets off, it takes the dissolved iron with it.
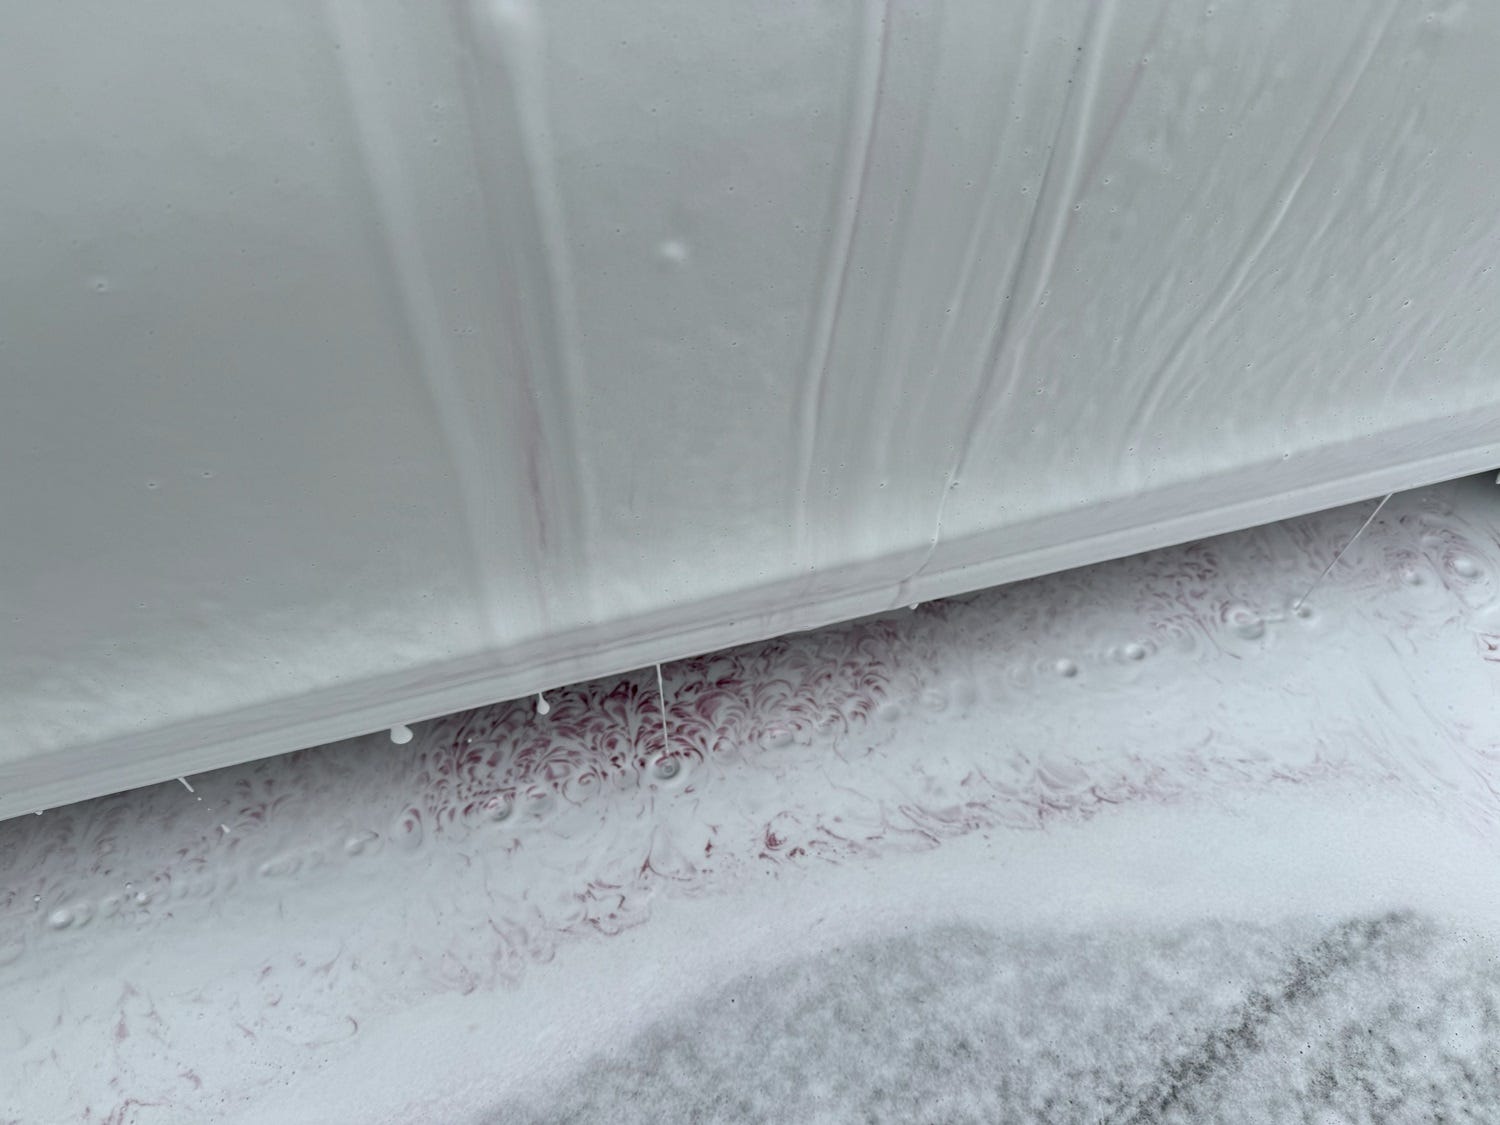
3. After letting the iron remover and soap do their thing, it’s time for a rinse. Be thorough here — the idea is to let the chemicals do the heavy lifting before whatever comes next. A pressure washer rinse keeps this touch-free, which is the whole point before you ever pick up a mitt.
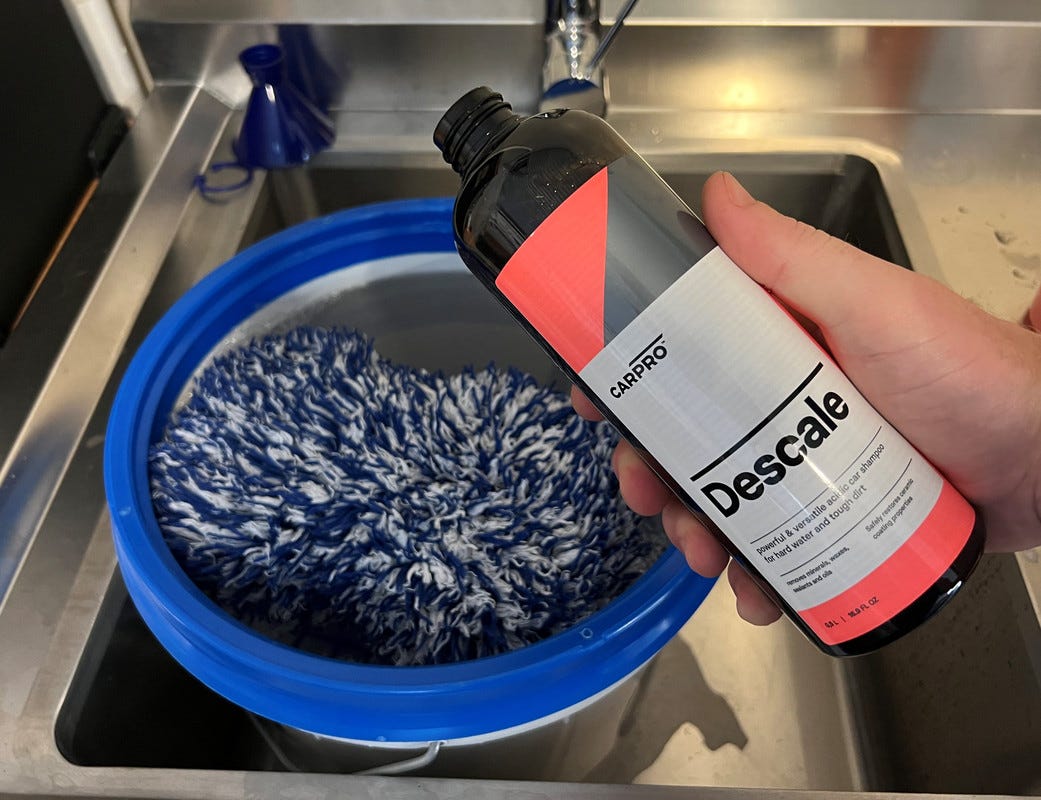
4. At this point it’s time for the contact wash. We started with pH neutral (the iron remover), moved to alkaline (the high pH soap), and now finish with acid, going after the mineral deposits the first two steps won’t touch. Acid does its best work with a bit of contact behind it — more so than an alkaline product, which have higher touch-free cleaning ability. This step’s about clearing the visible dirt left over from steps one through three, while also chasing down what you can’t see. For this, I like Carpro Descale — foam it on, then follow up with a wash pad and rinse bucket.
5. This step’s your chance to inspect the car and figure out what else it needs before you dry it. Check for any remaining tar deposits and treat them with a dedicated tar remover, then rinse thoroughly to neutralise it. Water spots are always best treated with a dedicated remover too. Even if you can’t see a visible difference (sometimes you will, sometimes you won’t), the goal is to neutralise the minerals that caused the spot in the first place. Always rinse after using these products.
The final inspection: does the paint feel rough or crunchy to the touch? If so, you’ll need to progress to claying……………
6. I always leave claying until the end, and only if it’s needed. In theory, you want to do as much chemically as you can — whatever’s left after that, clay is your last resort. I don’t mean that as a knock on clay, rather that claying mechanically abrades the surface, and that’s something you want to do as little as possible.
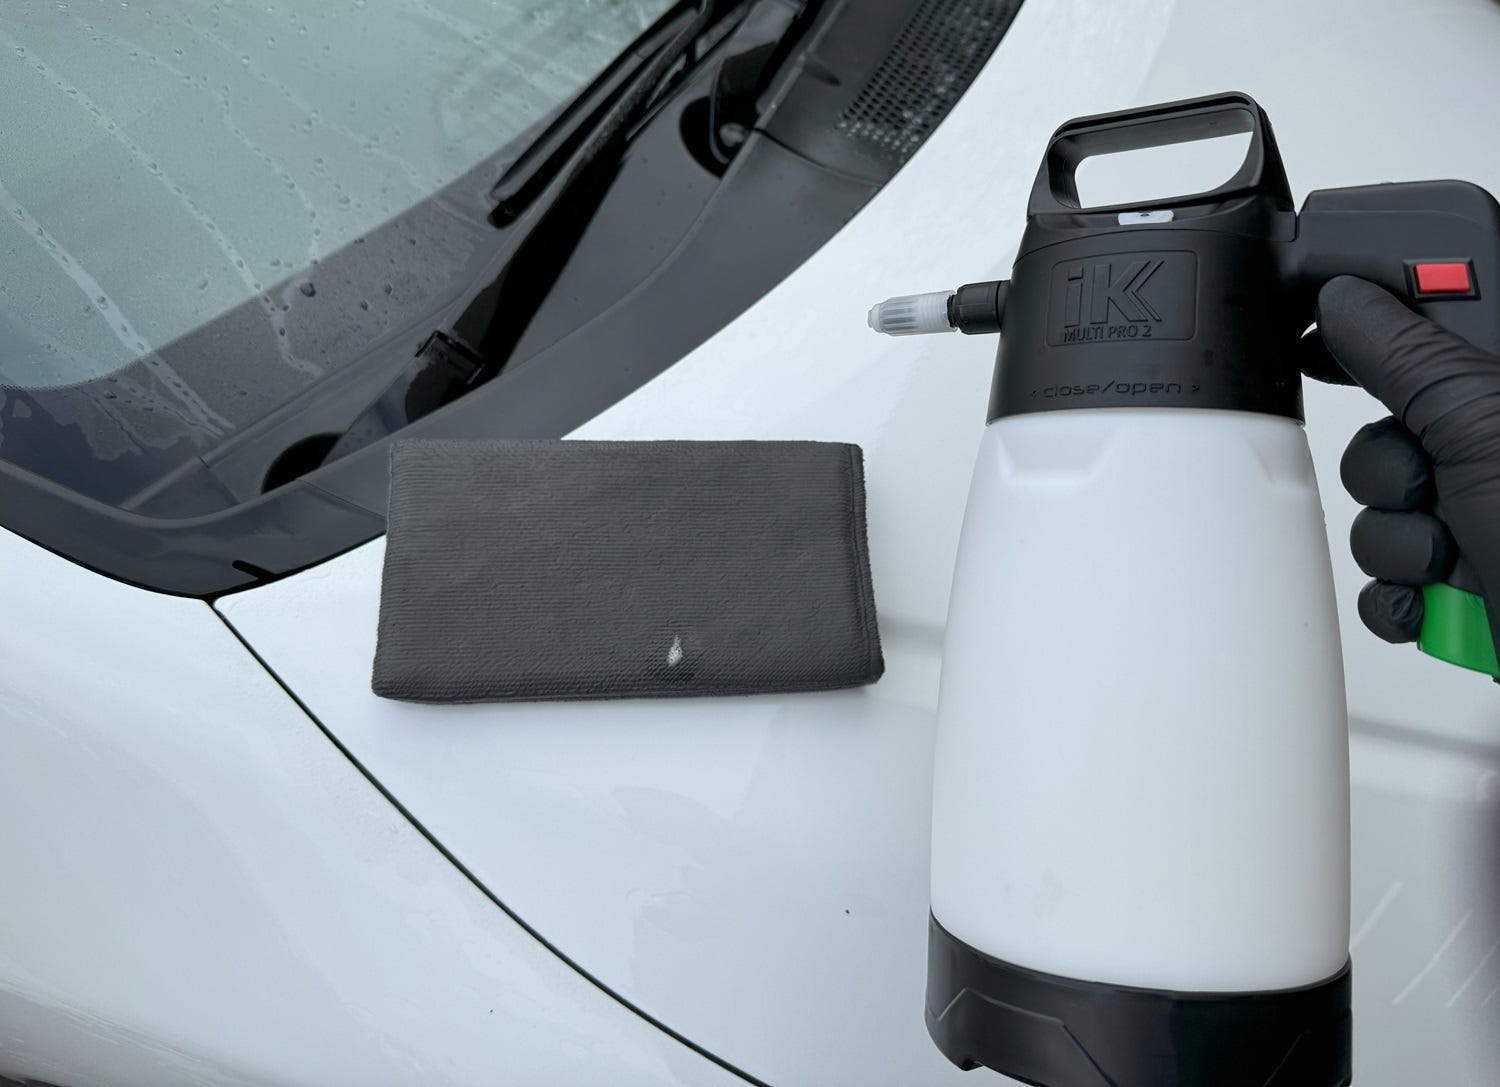
For heavy contamination, traditional clay bars are the way to go — they’re simply more effective. But I only reach for a bar if it’s absolutely needed. For everything else, a modern clay sponge, towel or mitt gets there faster, is easier on the paint, and doesn’t need the constant babysitting a clay bar does. Team any clay product with a dedicated clay lubricant, soapy water or a rinse-less wash — and be generous. There’s no such thing as too much clay lube. Keep inspecting as you work. More often than not, the surface itself will tell you when to stop — it’ll go from crunchy to smooth and quiet, both by feel and by sound.
The benefit of leaving clay until last — but still before drying — is that you can simply rinse the lube away and skip drying the car twice……………… work smarter, not harder.
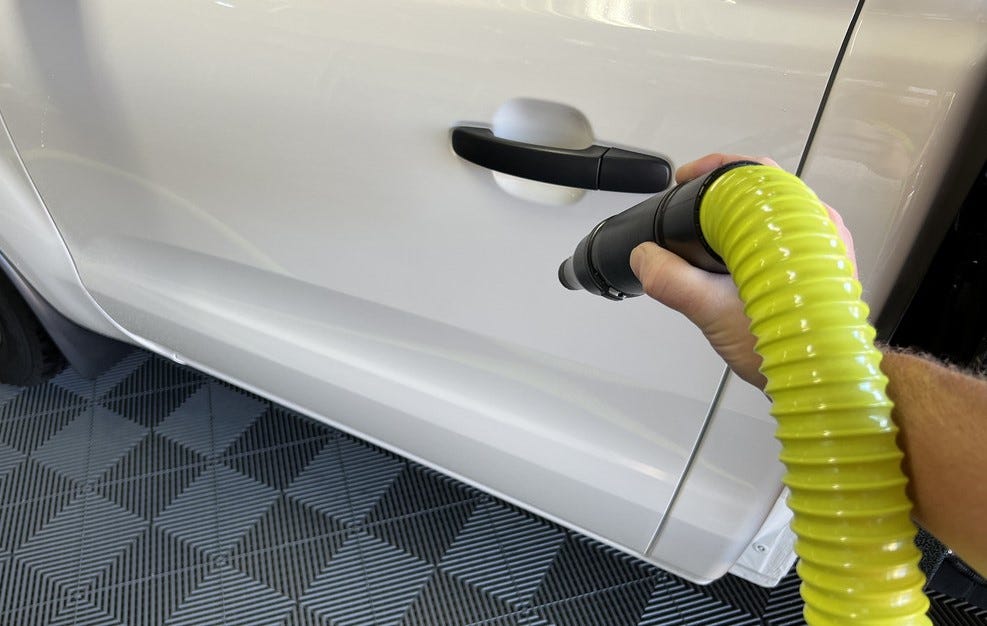
7. After that final rinse, it’s time to dry. I start with a blower — one full pass to force water out of cracks, crevices and panel gaps. A full decon often strips whatever hydrophobic properties were on the paint, so water doesn’t bead and run like you’re used to — it just sits there. That means towel work becomes essential here, not optional.
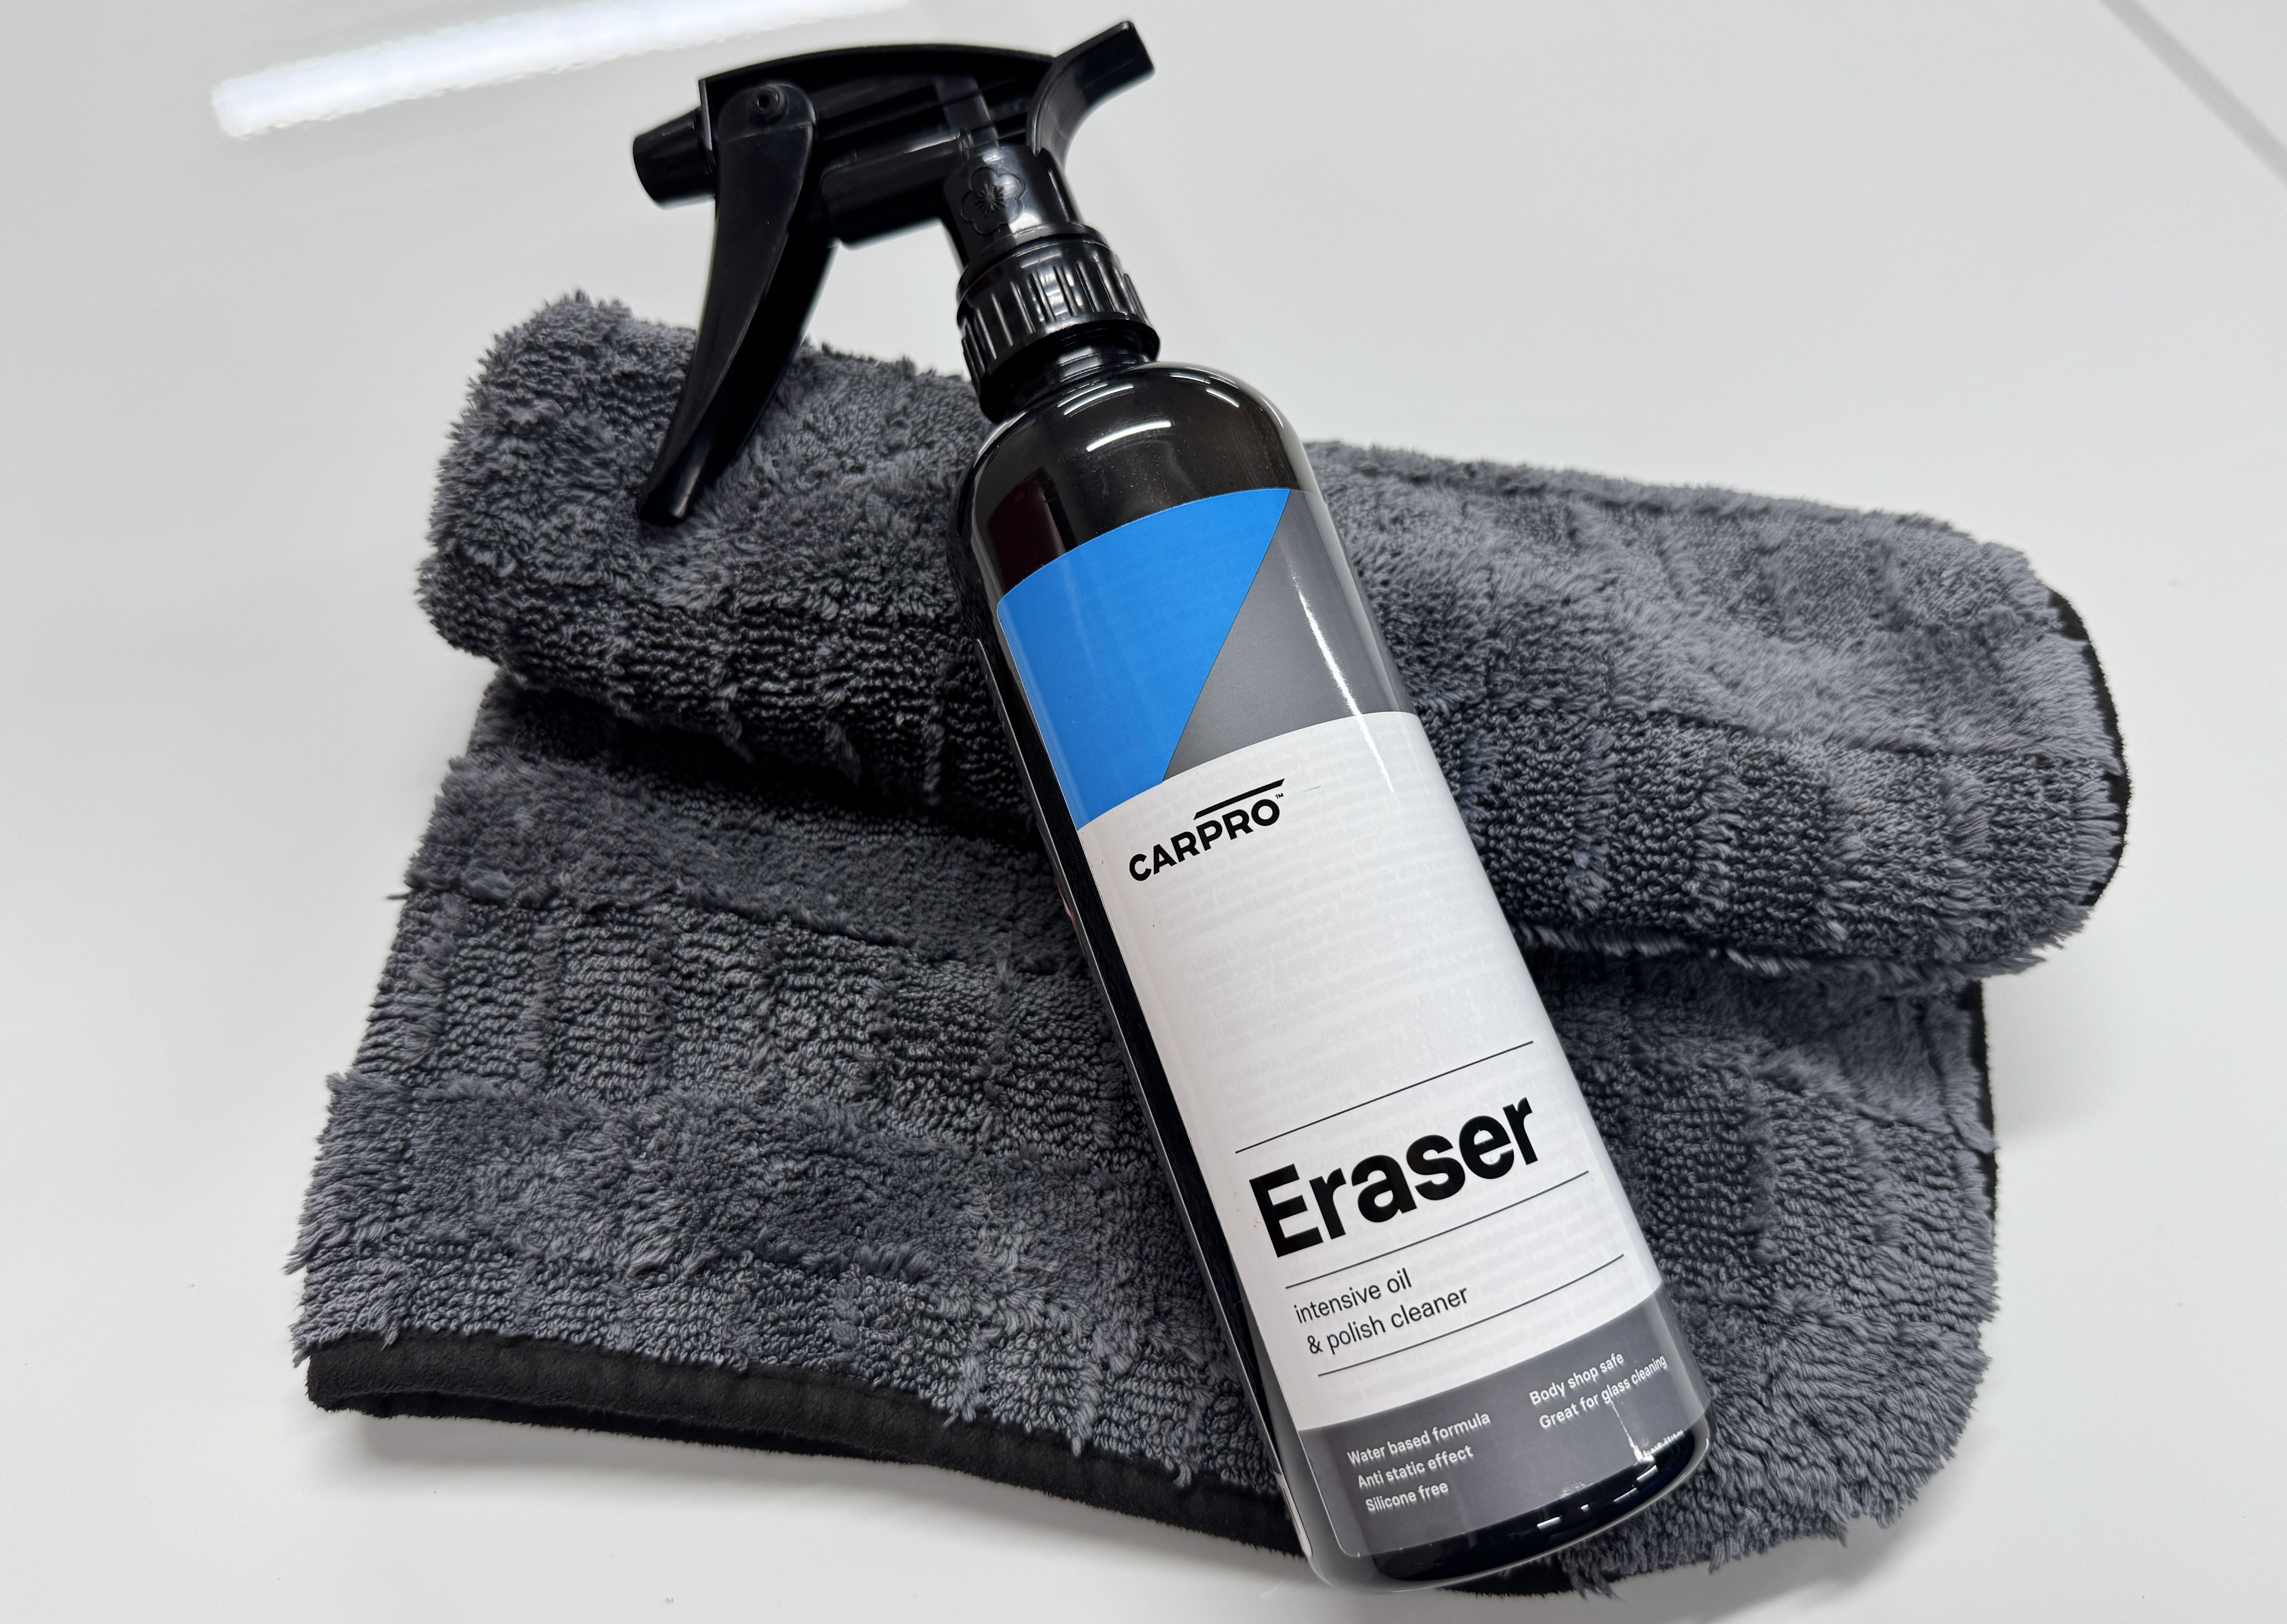
Conventional wisdom says skip the drying aid altogether — you’ve just spent all that effort stripping the surface back to bare paint, so why put something back on top of it? I get the logic, but I use Carpro Eraser anyway, and it’s pulling double duty. The lubrication package and the IPA content together mean it dries the paint safely while evaporating fast, genuinely functioning as a drying aid rather than just an inspection wipe. At the same time, it strips any lingering chemical residue, so you’re inspecting the paint in its true state rather than through a haze of leftover product. And because it’s IPA-based, it preps the surface nicely for whatever masking tape goes on next if you’re heading into correction.
My process: two large drying towels — spray Eraser generously across a panel, dry it down, then move to the next. Work your way around the car — glass included — panel by panel.
And that’s the process, start to finish. Use as much or as little of it as the car actually needs — as I said earlier, the flow stays the same no matter where you pick up. What doesn’t change is the payoff: paint that’s genuinely clean underneath, correcting and bonding properly because nothing’s fighting you anymore.
Want the exact products and tools I reach for — quantities, dilution ratios, the lot? That’s for paying subscribers, below.
